

Dear people,
I sewed a shirt with a hood and I thought it would be nice to explain how I did this.
So here I go. And please correct my English if I'm not mentioning the right terms.

Here's a close-up of the inside of the neck. As you can see, there are three fabrics: the woven shirt (frogs), the hood (brown knit) and the neck binding (brown piece of woven cotton), covering the seam.
I bought the frog fabric 3 years ago and then I was so surprised to see it in the Ottobre mag in the summer of 2009. Since it is really spring here I wanted to make Pelle the short sleeved shirt from the picture. The pattern is # 31, Little Fella Shirt. It's a pattern with a buttonlist and facing included in the front and a neckbinding to cover the neckseam. I decided to go for size 116 and to add a hood, because I had only 50 centimeters of fabric and it was a good excuse to avoid sewing a collar. There’s a pattern of a shirt with a hood in one of the other issues (summer 3/ 2011) but not in size 116. So I had to improvise.

What did I do?
I drafted a hood in size 116 from the Hilda dress pattern (Ottobre 06/07, # 27), but you can use any other pattern as well.
I then had to adjust the size of the hood to the neckline of the shirt.

Measuring of the pattern piece of the hood. As I took the photo with one hand, I could not get the measure tape quite right, but I followed the curve precisely.

Here you can the measuring from a different angle.

I then laid out the pattern piece of the back and front of the shirt together and measured again. (nothing wrong with my hand, just bended that finger).

I shortened the hood and deepened the neckline by 0,5 cm to make things fit. I guess you can also make a pleat in the hood. (Might even be better, in hindsight).

Because I deepened the neckline, I made the neck binding a little longer.
I cut out the hood, sewed it (right sides together), finished the seams with a fancy stitch from my Phaff and did not take photos of that process. But I hope you can imagine how it worked out.
After finishing the hood, the next step began: sewing it to the shirt.
I closed the shoulders of the shirt, placed the sleeves and than closed the sideseams and armseams. (no pictures).
Then it was time to sew on the hood.

Here’s a pic of the button facing, folded back. The white stuff is the stabilizer. You can also see the seam allowance. I basted it, but you can also pin it or just leave it as it is. Anyhow, you should leave opening space at the neck.

I then pinned the hood to the neck. Right sides together.

Now here's a crucial part. I sandwiched the fabric of the hood between the button facing.

I basted the fabric of the hood and went onto the next step.

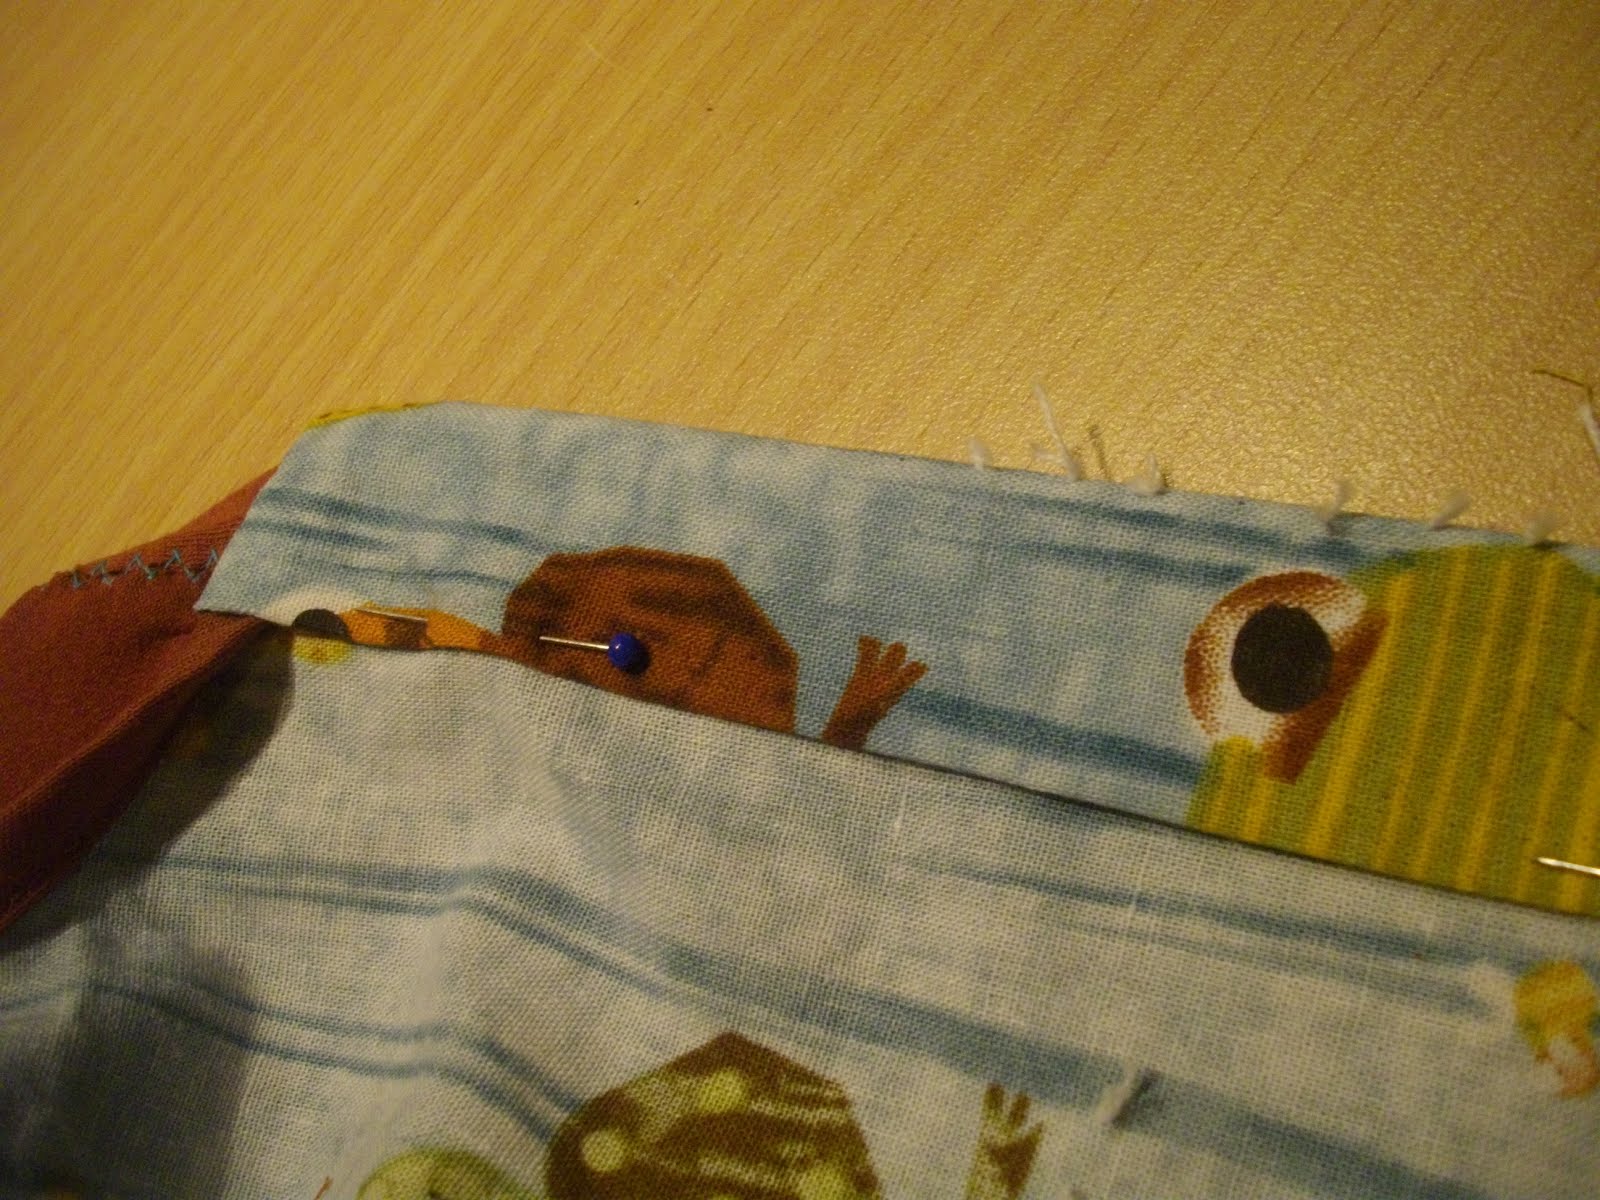
I pinned the neck binding onto the fabric of the hood. The right side of the neck binding goes unto the inside of the hood.

I placed the neck binding unto the button facing, ending in the middle of the facing.

I pinned and sewed the neck binding and the hood in one go unto the neck of the shirt. (and removed the thread of the basting, afterwards).
Cut of the excess of the neck seam...

... and make small cuts, where the seam curves.

Than folded the unfinished part of the neck binding under the seam, pinned and sewed. I tried to stitch into the ditch.

Now you can flip the buttonfacing to the right side. Before I did that, I cut of the excess fabric in the corner.
I folded the button facing back and there you have it: a neat finish.
I then pinned and secured the button list to the front.
And then, finished of the shirt.
Afterwards, I posted this instructions on the net. It took me more time than sewing the whole shirt.
Geen opmerkingen:
Een reactie posten